The ability to efficiently discover data and visualize it in meaningful ways has never been more important. Tools like Tableau allow users to see data in an easily interpretable, shareable way that empowers data-driven decision making. However, with more organizations now collecting, storing, and analyzing sensitive data, the onus is on data teams to ensure that only users with the right permissions are accessing the right data – before it ends up on a widely shared dashboard.
For Tableau users, Immuta enables dynamic row-level security, so users can only access the information they are authorized to see when they need to see it. In this blog, we’ll walk through what that means from the perspective of a Tableau user consuming data for various purposes.
Integrating Tableau Data Sources Through Immuta
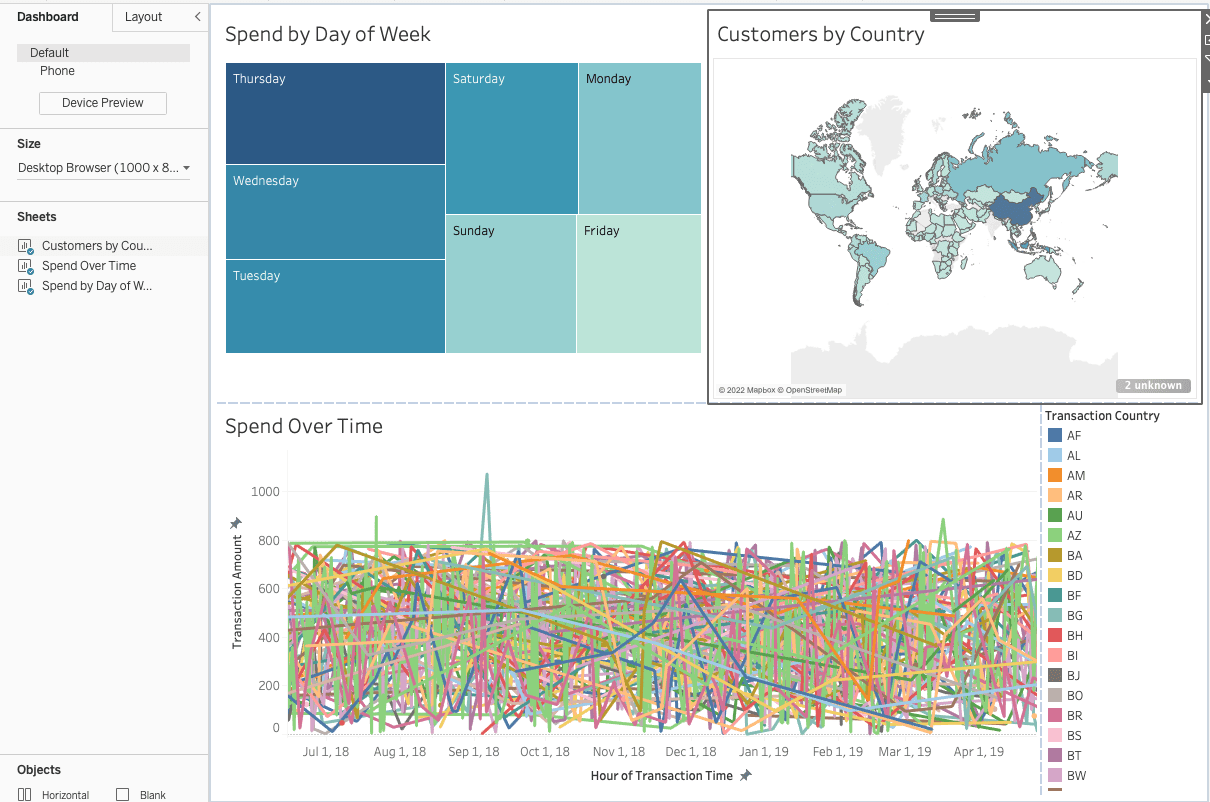
As a Tableau user, you are likely to receive a dashboard that looks something like this:
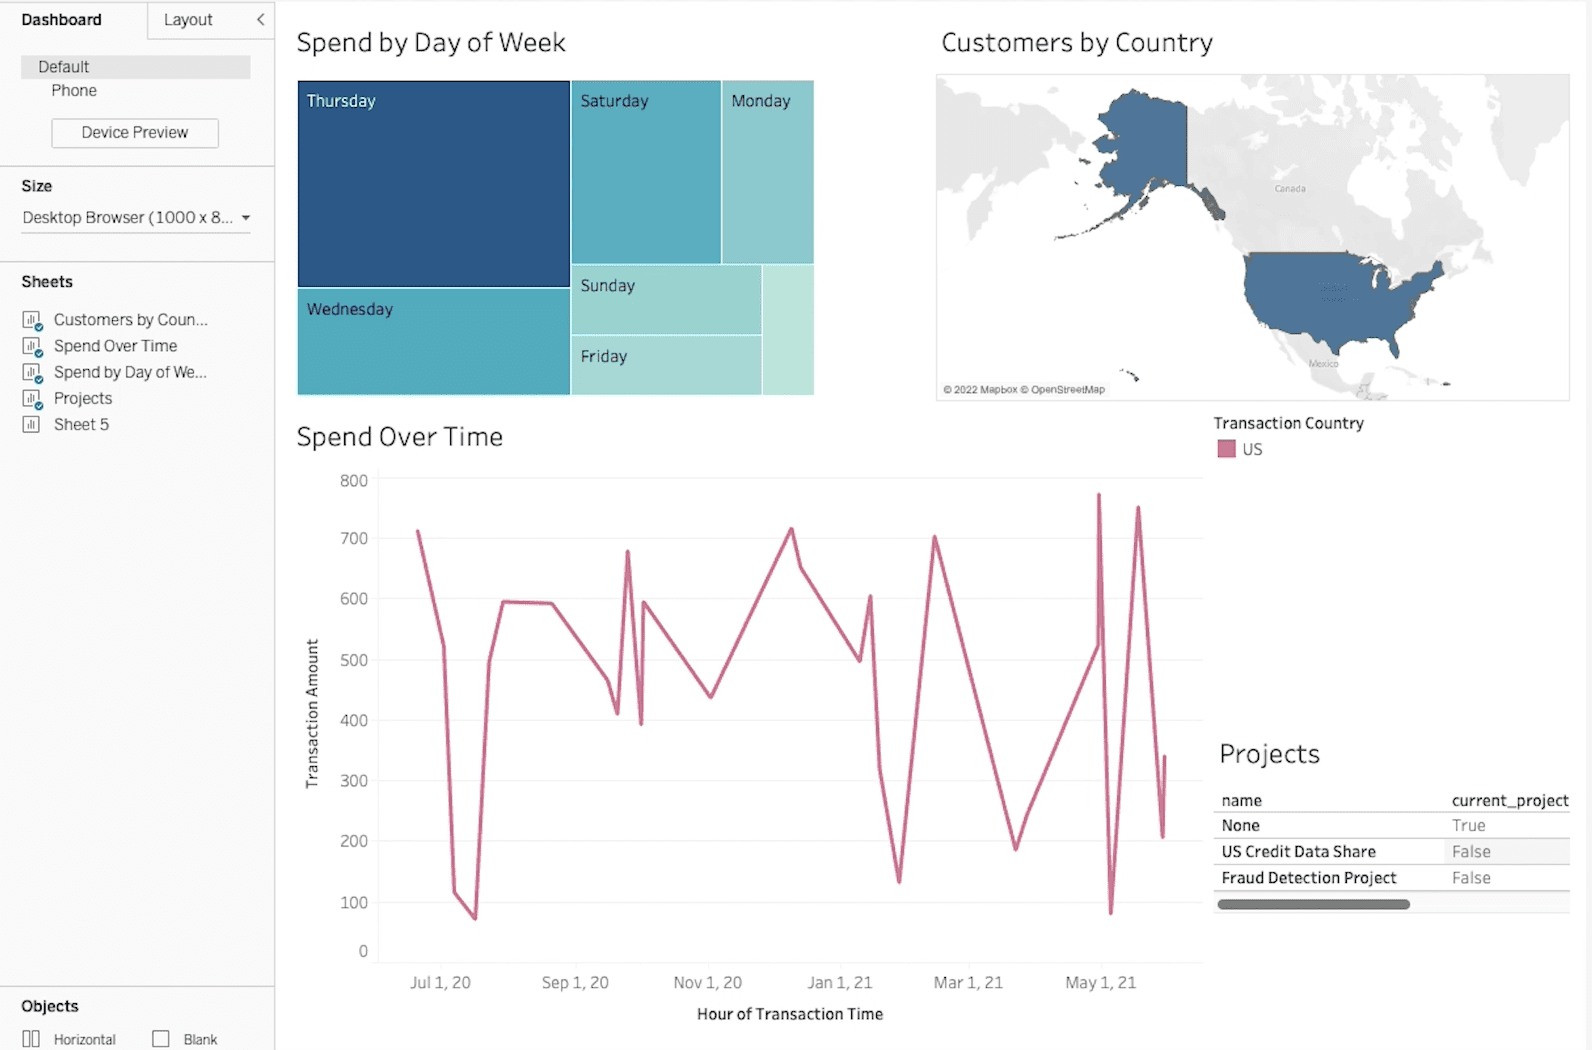
If Immuta is integrated with your Tableau instance, you are only seeing the data you are authorized to, and don’t even have to be aware that Immuta exists. However, in the bottom right hand side of the dashboard, you’ll see a “Project List” that shows you the Immuta projects to which you have access.
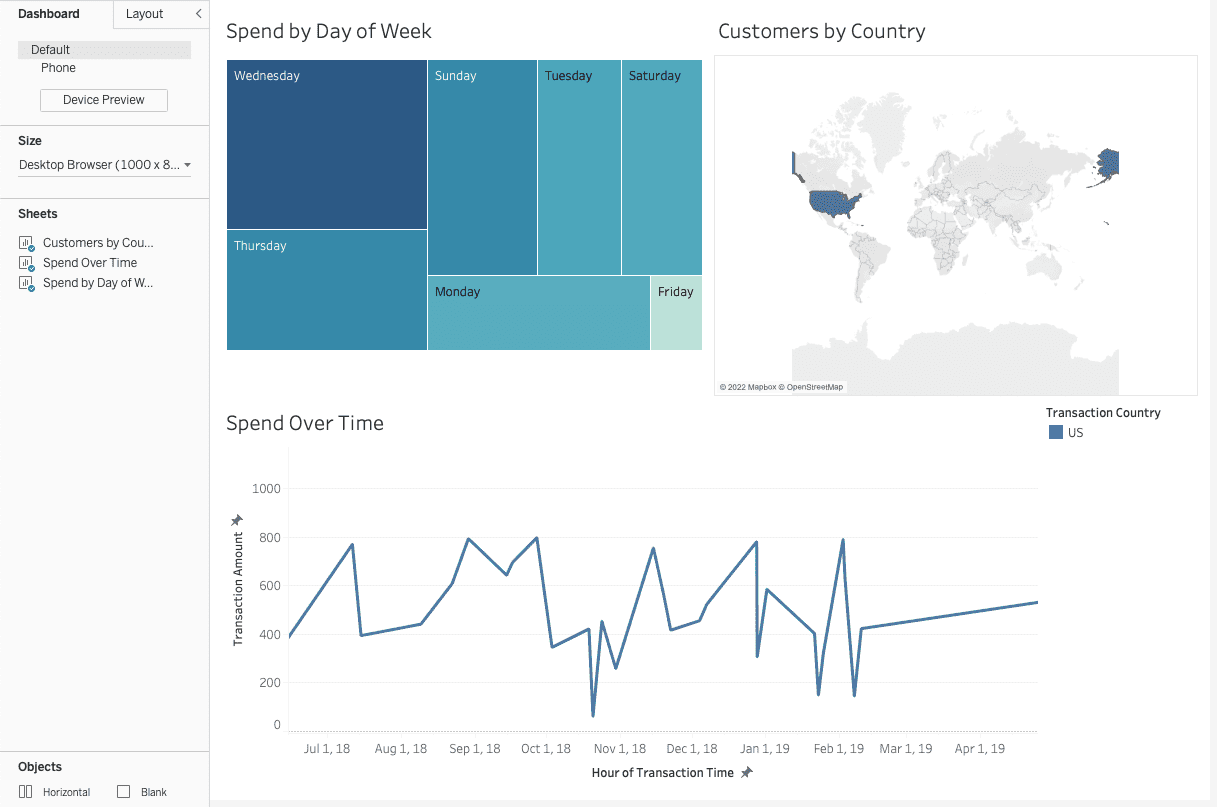
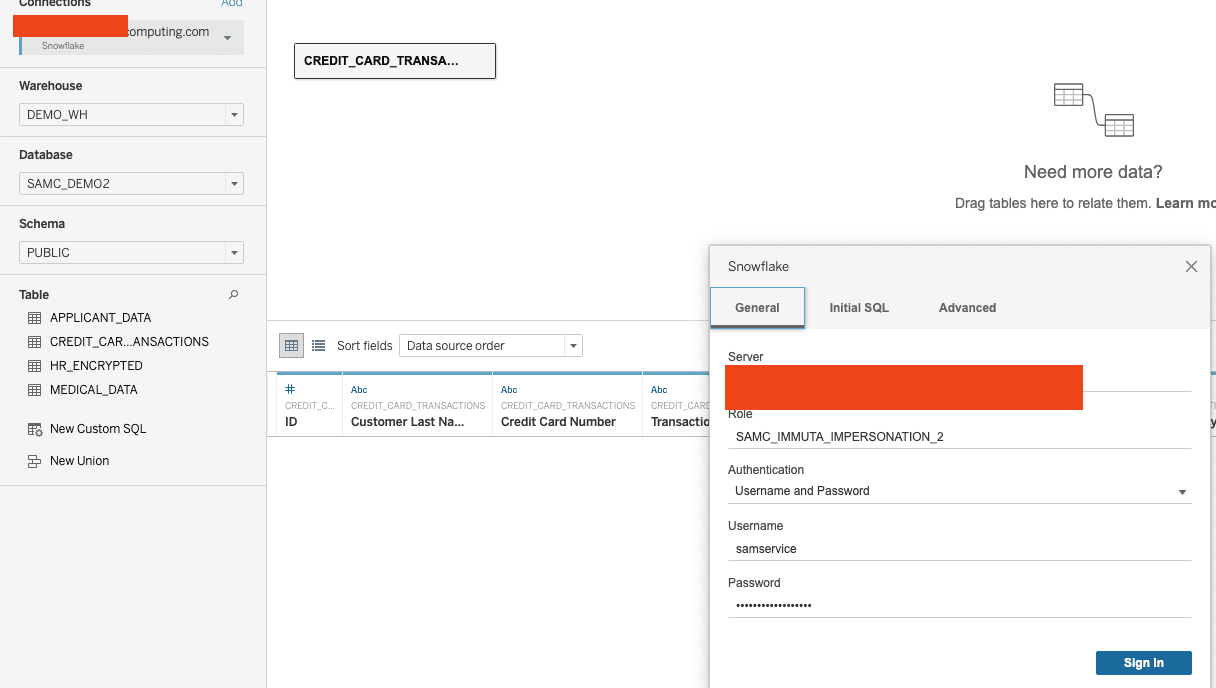
Now, let’s take a look at the same dashboard connected to Snowflake. You’ll notice the dashboard is the same, minus the project listing at the bottom. This is because Immuta’s policy engine consistently applies rules based on data and user attributes using attribute-based access control (ABAC), allowing you to build a policy once and apply it consistently anywhere the same type of data is found.
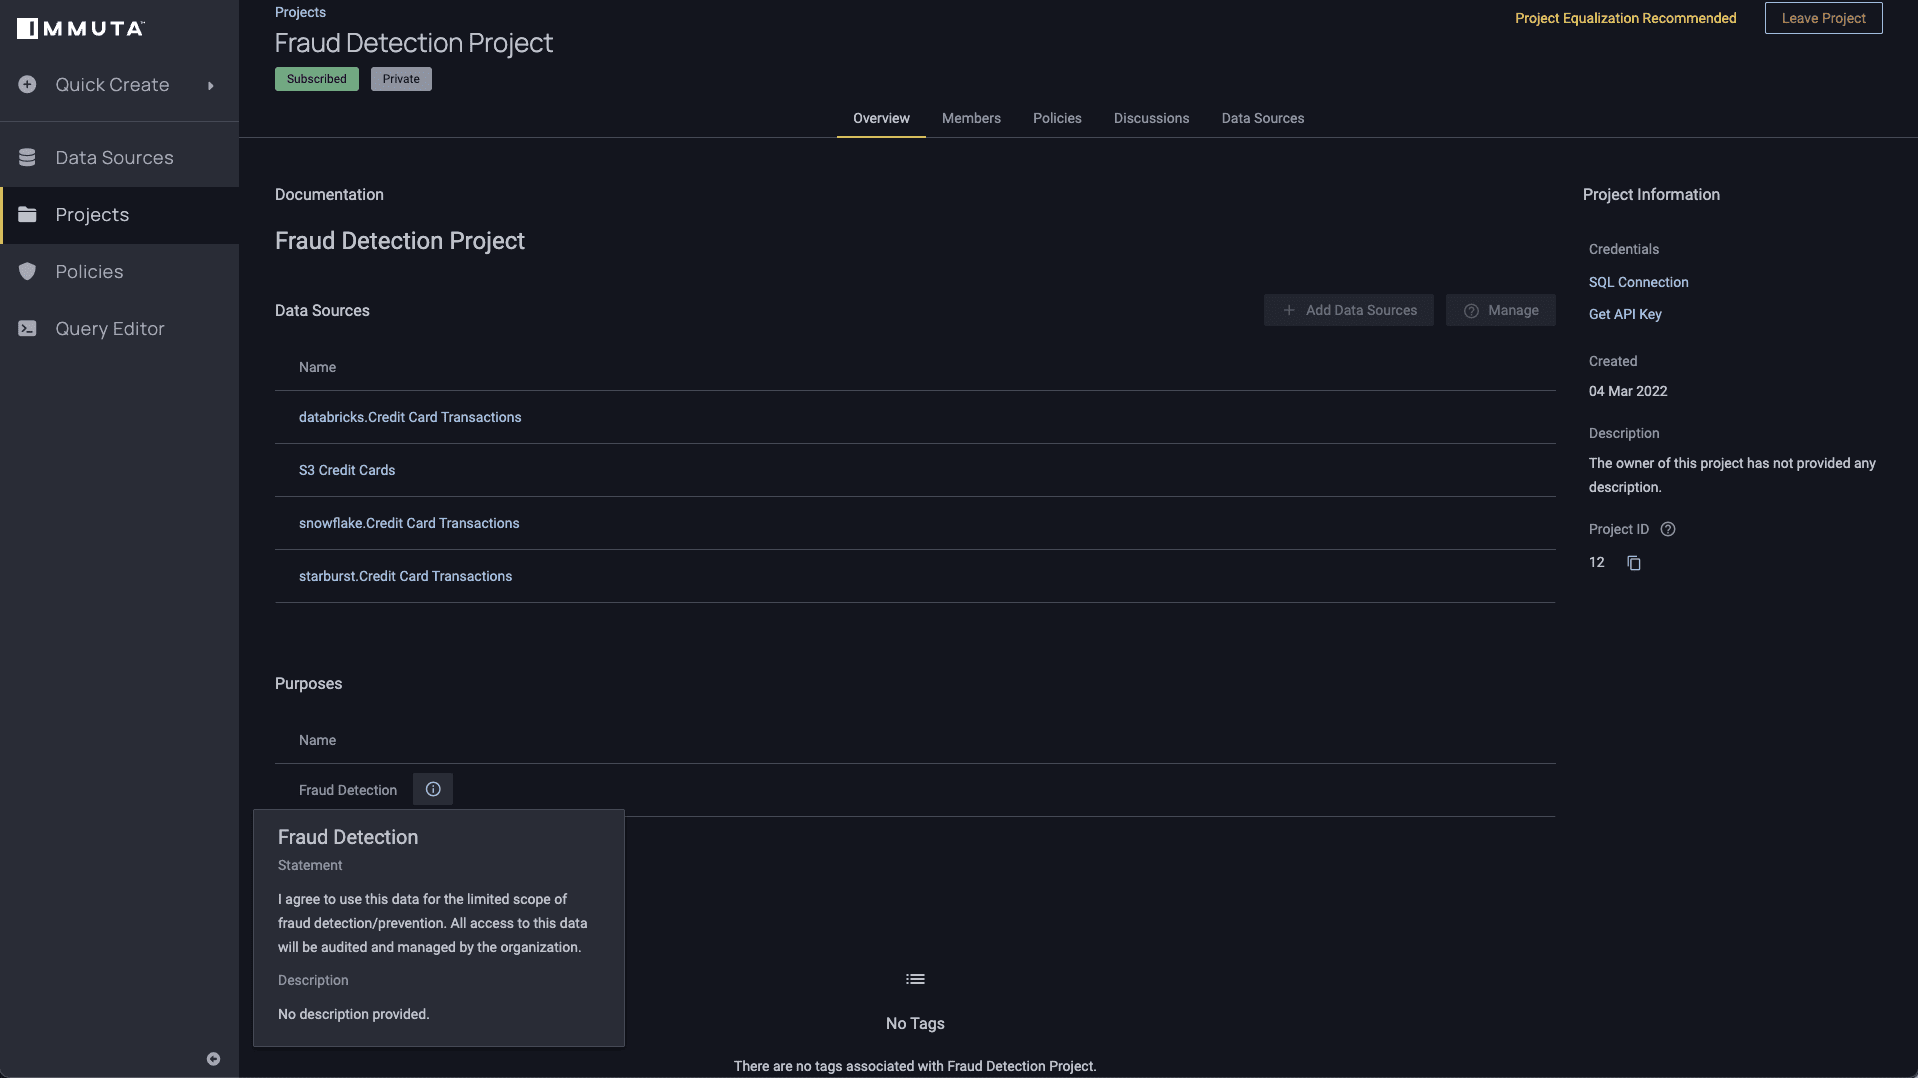
Which other tables are you authorized to access? We can find out by switching over to Immuta:

Clicking into any of these data sources will allow you to see which policies are applied to the tables. Let’s say you have a data set called “snowflake.Credit Card Transactions” that has two policies enforced on it – one to mask data for any column classified as “Personally Identifiable,” and the other to only allow access for a list of country codes for which you have authorization (note that the country codes are considered attributes that are derived from a region in the user’s profile). Both of these policies apply unless you are approved for the “Fraud Detection Project” and have agreed to the project’s terms.
Applying Purpose-Based Access Control for Tableau Data Sources
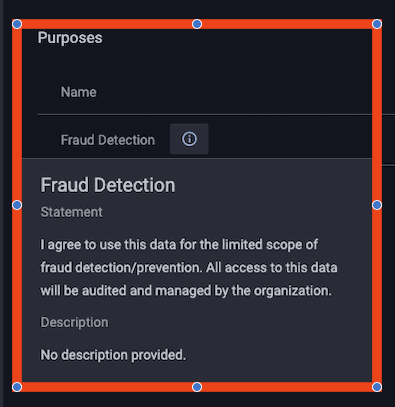
Now imagine you have a project specifically aimed at detecting and resolving fraudulent transactions. If you’re approved to work within the “Fraud Detection Project,” Immuta’s purpose-based access controls will permit access to the associated data, which may override the policies mentioned above. Notice that the project below has an explicitly stated purpose:
Before you can access information in this context, you must agree to the terms of the project:
While operating under this context, all data access will be limited to the tables and objects associated with the project. This is a critical factor for preventing data leakage. Imagine a scenario in which you need more data to determine who is impacted by a fraudulent transaction. An analyst might get access to a customer’s name when trying to contact them about the fraudulent transaction, but you don’t want them to be able to join back to other systems while they have it. In order to prevent this from happening, Immuta automatically revokes access to any system not listed here.
Now, let’s change your context into this fraud detection project and see how it impacts your reports pointing to Snowflake.

After switching contexts and re-running the data queries, here is what you would see in Tableau:

Note that the “Projects” box in the right hand corner now shows that you’re currently working in the “Fraud Detection Project,” so you are able to see all country codes due to the exclusionary rule set in the segmentation policy:
Only show rows where user possesses an attribute Authorized Countries that matches the value in column tagged Discovered.Entity.Location for everyone except when user is acting under purpose Fraud Detection
Now, let’s look at the Snowflake dashboard:
You’ll see that the same policy exclusion is applied here, too.
The Snowflake connection uses a service account and something called “Impersonation Mode,” as opposed to user credentials. In this example, Snowflake is connecting as “snowflakeserviceaccount” and is impersonating the current_user from Tableau, which is “[email protected].”
This capability, known as user impersonation, allows you to publish data to Tableau in a manner that ensures the proper access controls are in place without impacting performance for the end user. Typically, different groups of data consumers would require different access controls, which would in turn require case-by-case access authorization. In addition to being difficult and time consuming to manage, this would also necessitate live connections from Tableau to Snowflake for all users – not to mention that those users would be prompted for their credentials whenever they want to view a published data source.
Immuta’s integration with Snowflake allows you to automatically enforce dynamic, fine-grained access controls that can be pushed down to Tableau. This ensures end users only see the data they are authorized to see, without needing a live connection to Snowflake. Assigning impersonation power to certain users ensures those users can view data as an end user would, so as to verify that policies are enforced as intended. With the Impersonation feature, data teams ultimately avoid the risk of Tableau (or any downstream analytics engines) bypassing controls and providing data access to any of the hundreds or thousands of users in an organization.
For a detailed explanation of how user impersonation works with Snowflake and Tableau, check out our blog, How to Enable User Impersonation from Tableau to Snowflake.
Here is how this looks with the Snowflake connection:
Conclusion
Enforcing data access policies upstream so they are applied when users query data in Tableau enables a seamless user experience that doesn’t impact typical workflows. By connecting Snowflake data sets to Immuta, this process happens automatically from a centralized layer that’s invisible to Tableau data consumers. As a result, policies can be applied consistently and scale across any data source, so end users are only able to see the data they’re authorized to. For specific data use needs, purpose-based access control provides flexibility while still maintaining compliance. In short, Immuta discovers, secures, and monitors data use, enabling more efficient workflows and analysis through Tableau.
See this in action in this demo video:
Start creating and enforcing policies in Snowflake. Try our self-guided demo.
Immuta Walkthrough Demo with Snowflake